
From Empty Backyard to Finished Office: How an OfficePod Comes Together
Building a backyard office might sound like a major construction project.
It doesn’t have to be.
At OfficePodWA, we’ve designed the process to remove as much complexity as possible for the homeowner. Instead of coordinating designers, concrete crews, builders, electricians, suppliers, and installers yourself, we manage the project from the first backyard review through the final handoff.
Here’s what actually happens between “I want an office in my backyard” and walking into your finished OfficePod.
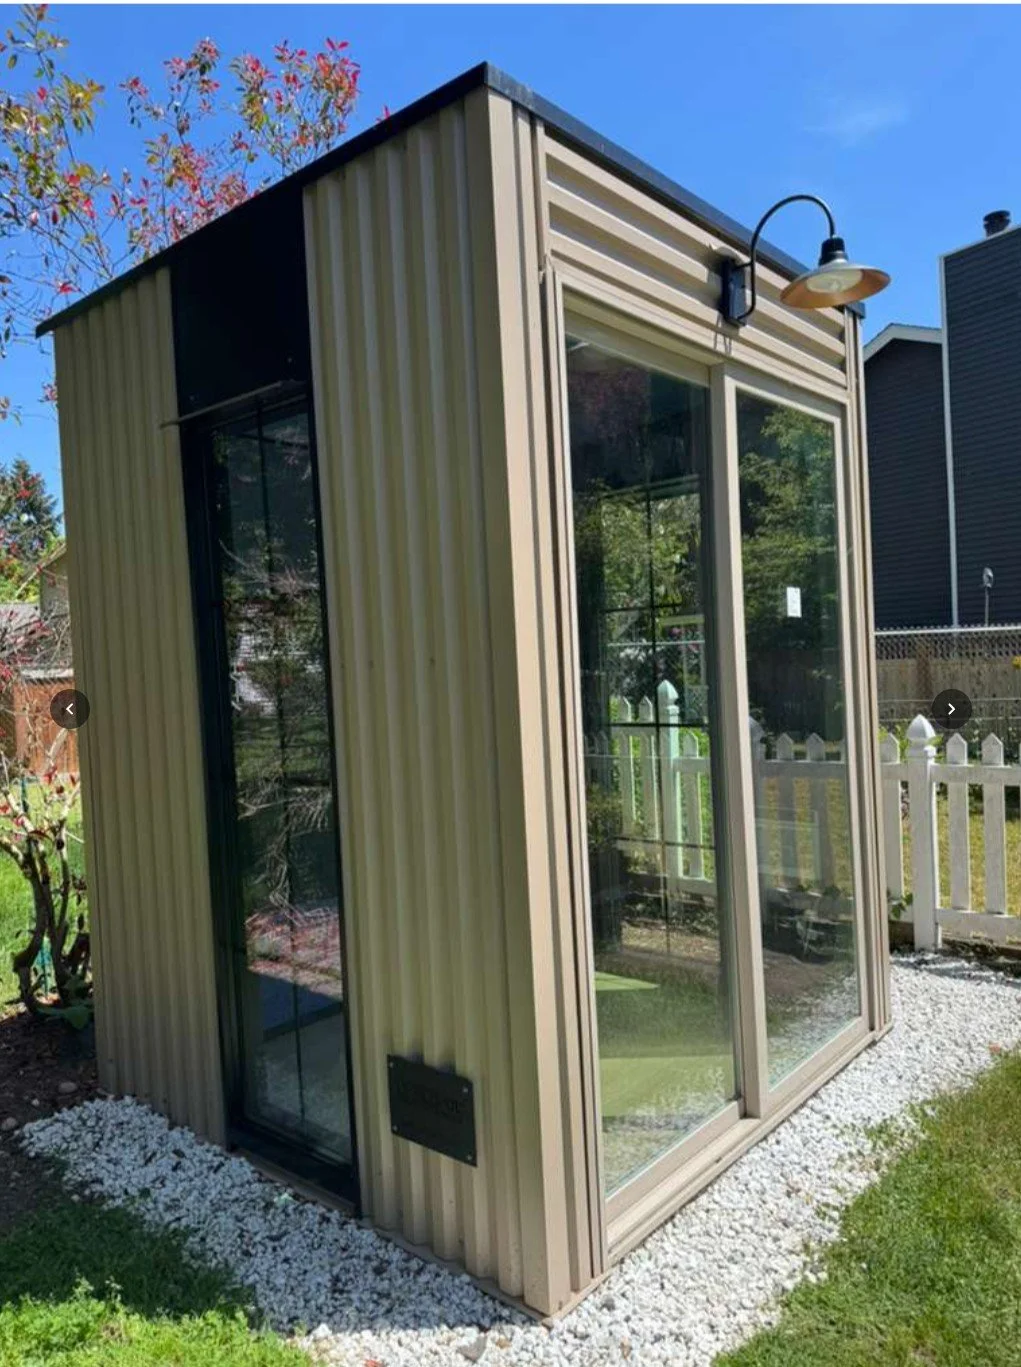
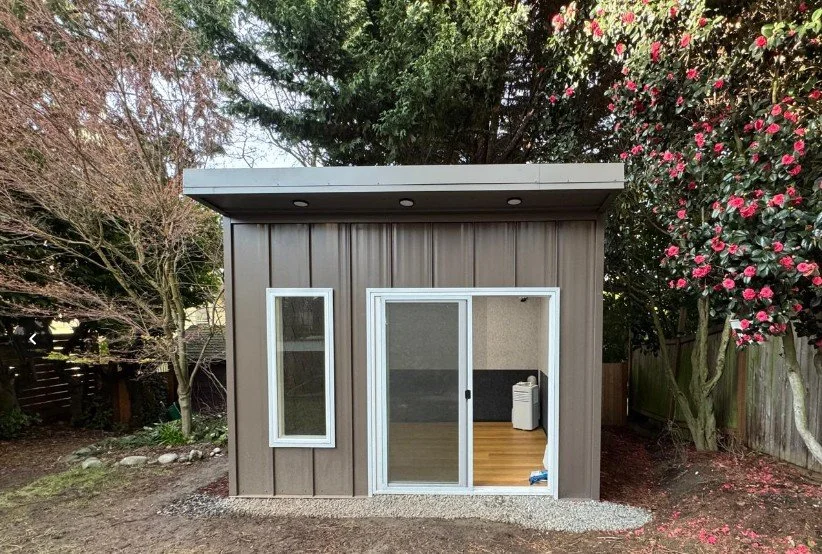
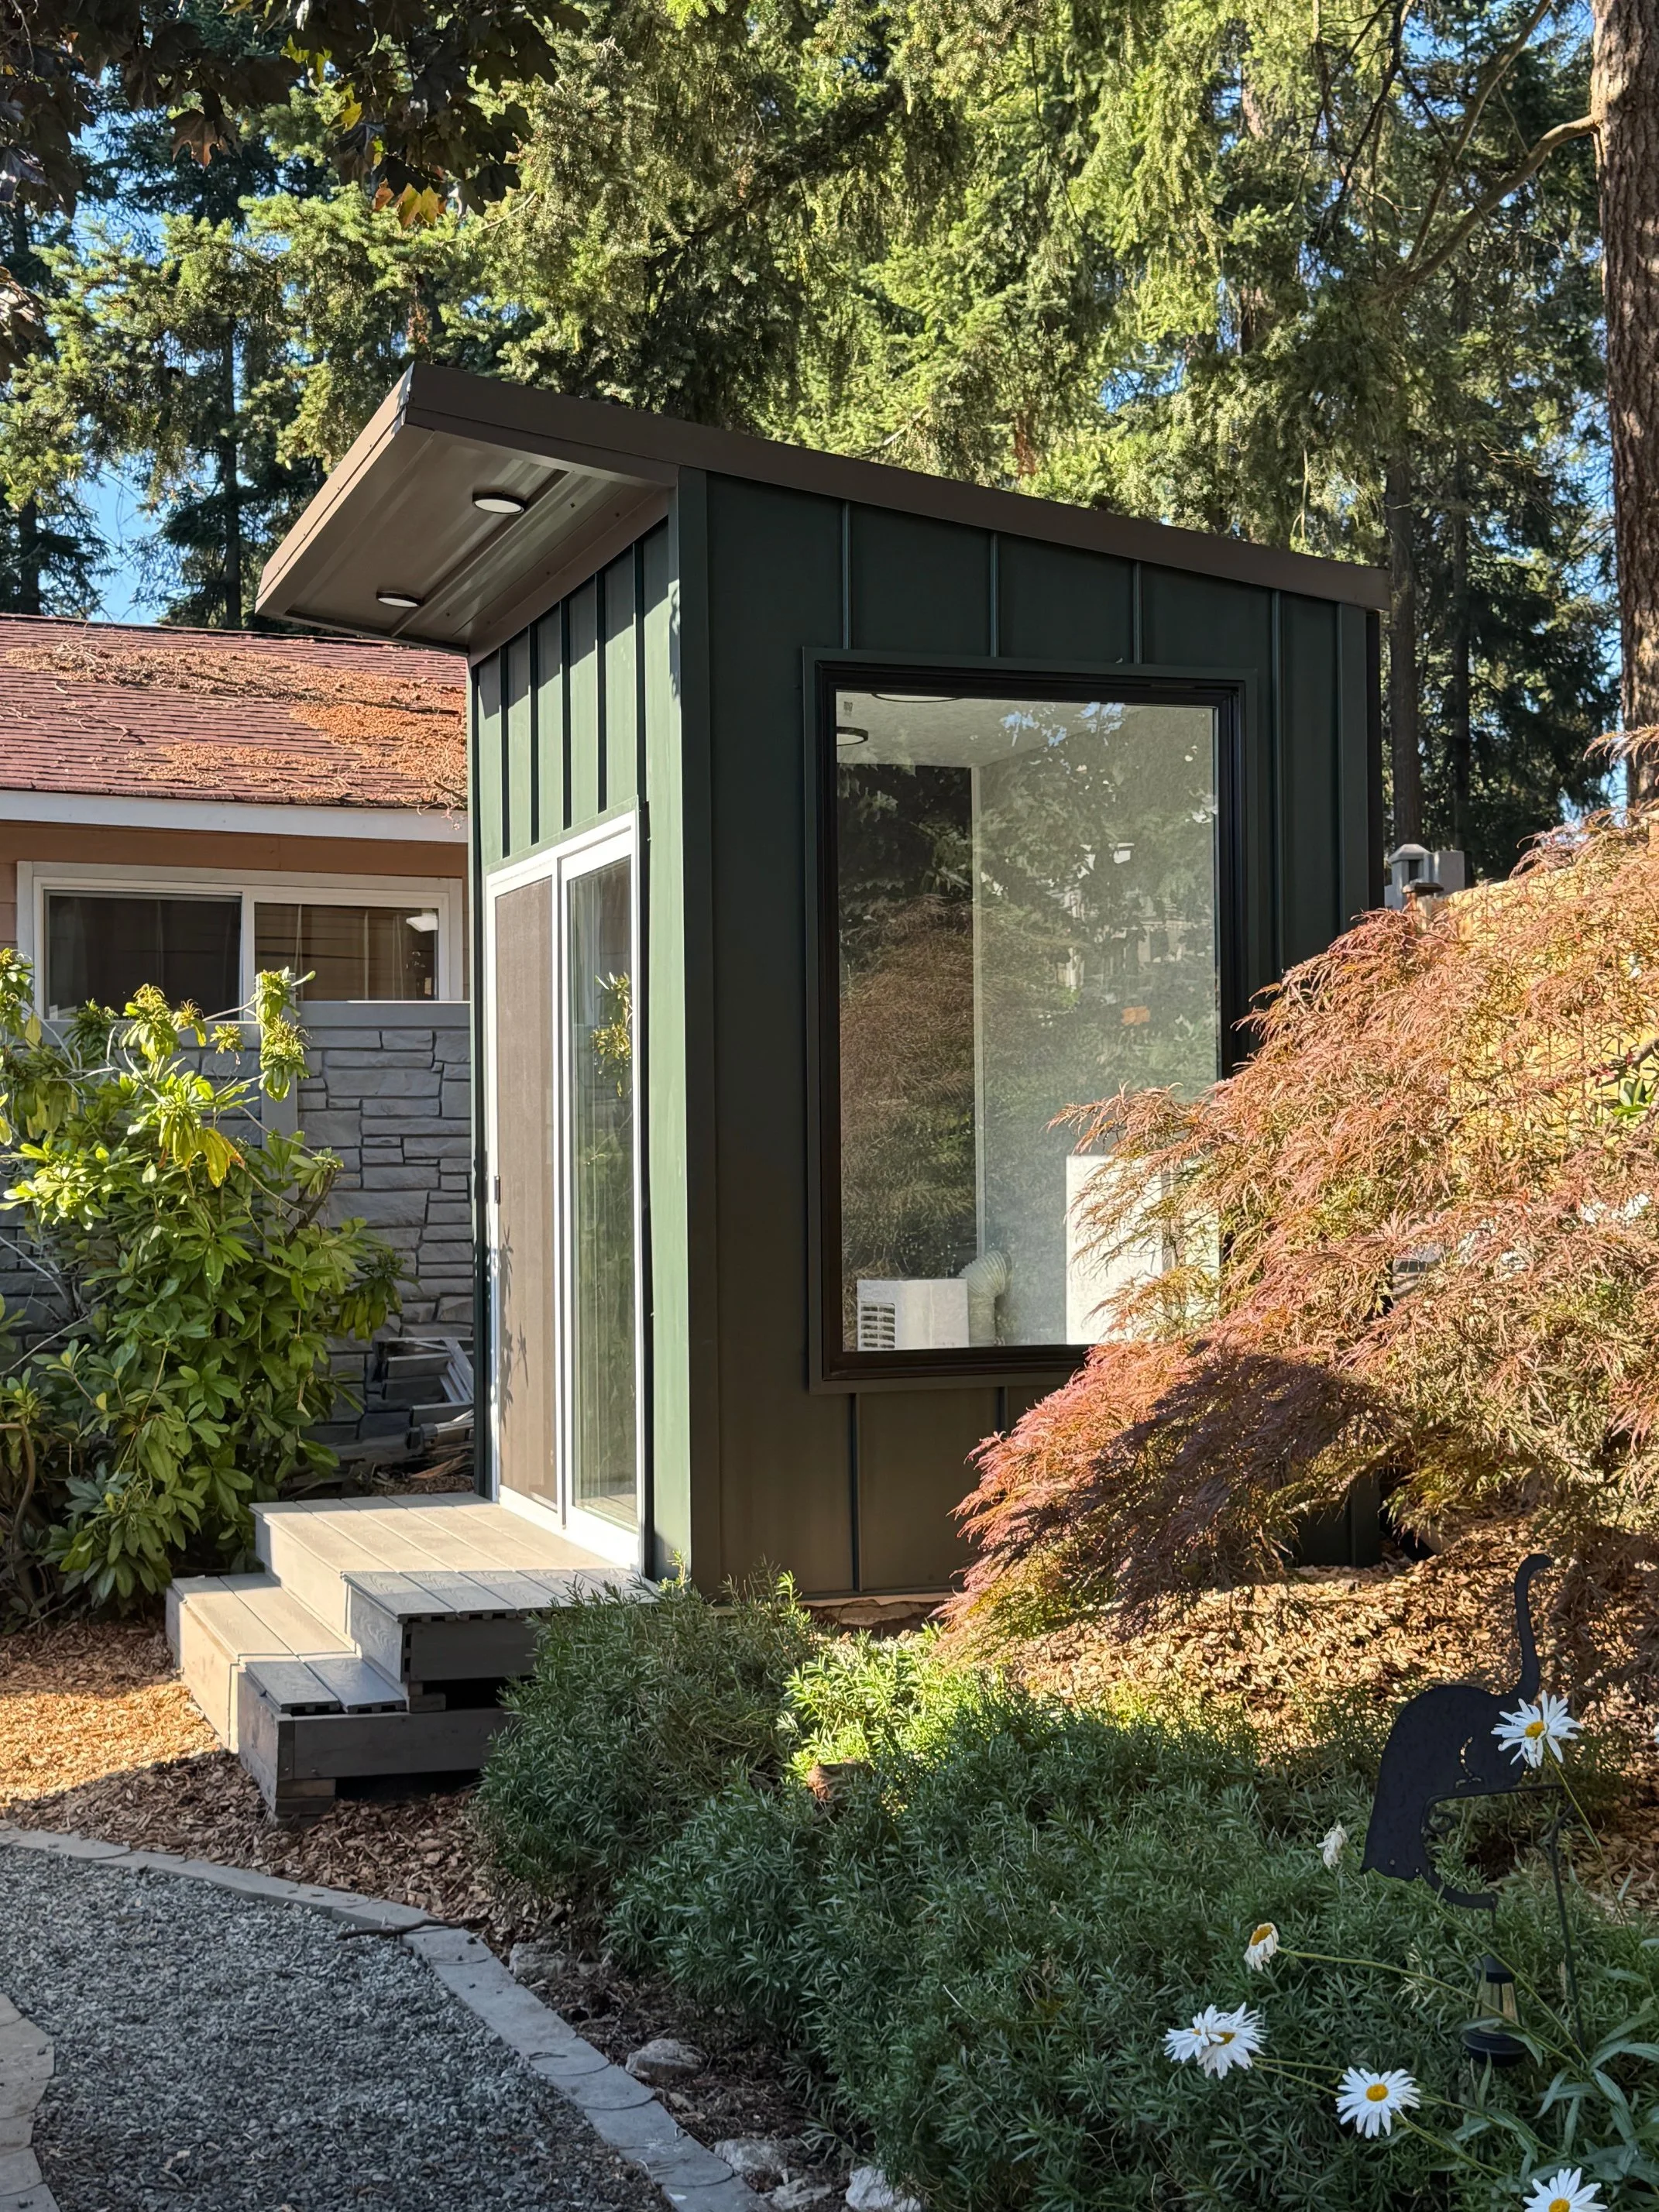
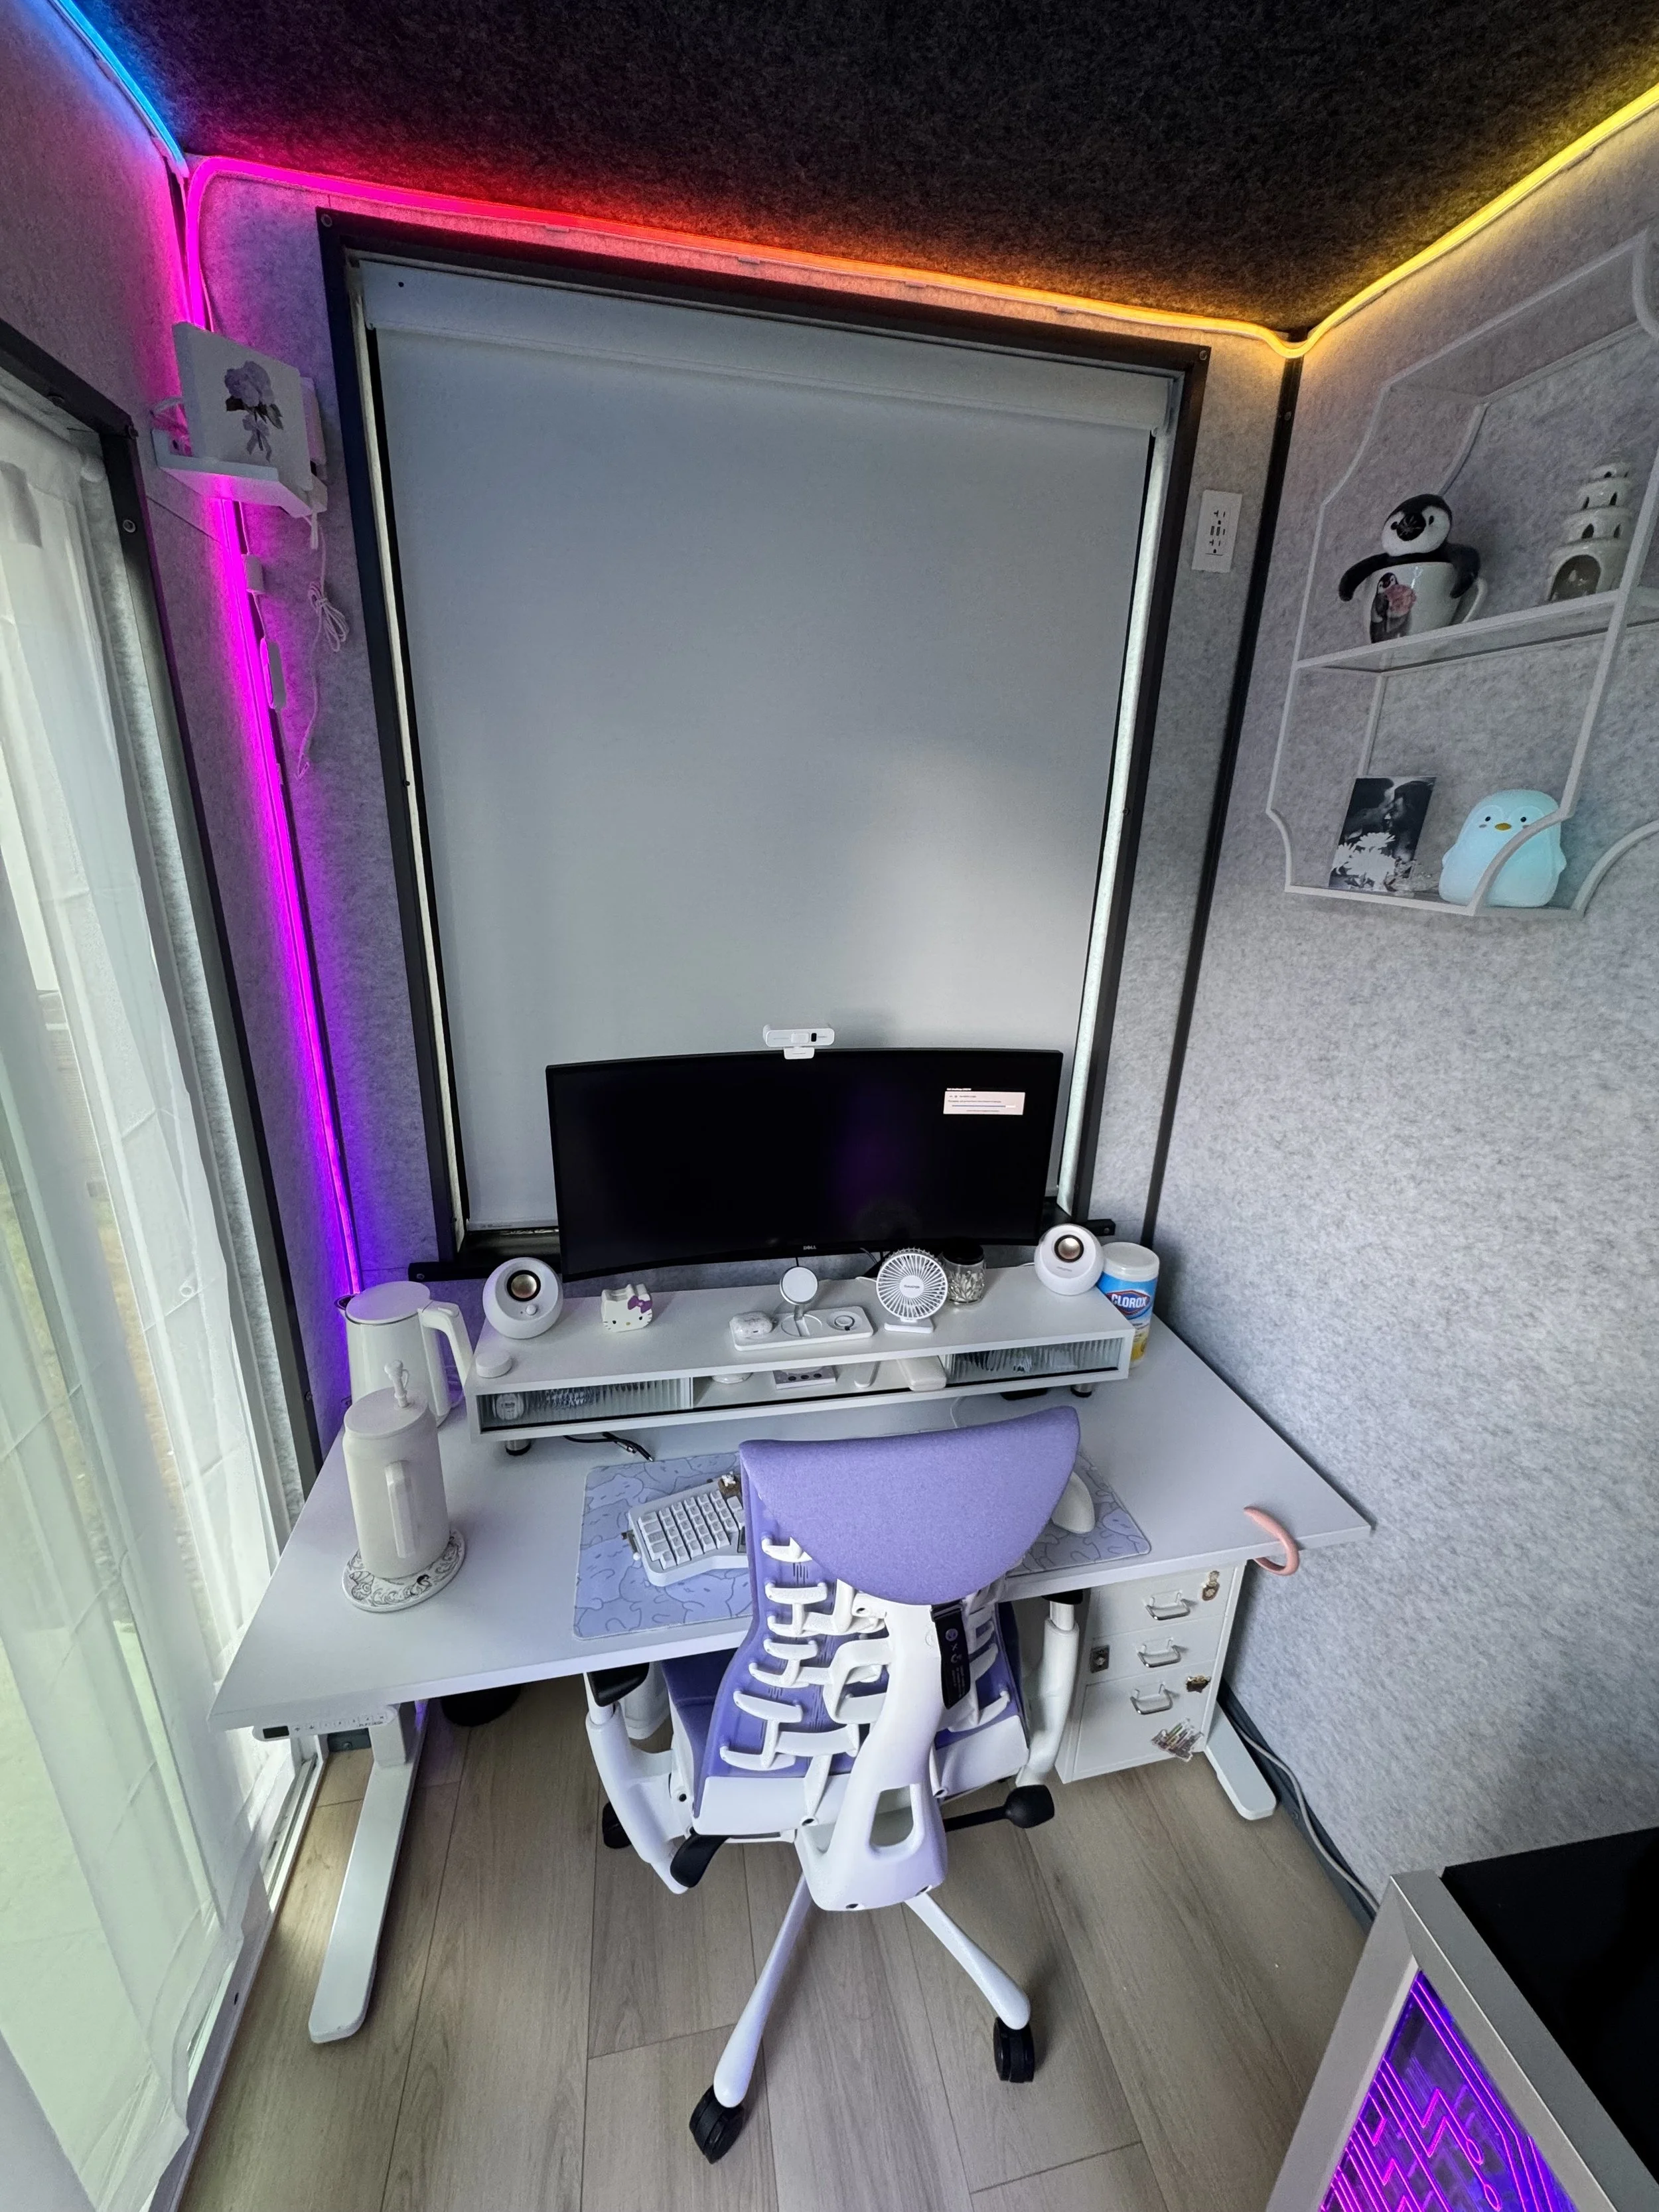
Step 1: We Start With Your Backyard
Before talking about colors, windows, or furniture, we need to know one thing:
Will an OfficePod work well on your property?
We start by reviewing your backyard, usually using your address, photos, measurements, and a conversation about how you want to use the space.
We look at:
Available space
Access to the backyard
Property lines and setbacks
Ground conditions
Electrical access
Trees, slopes, fences, and other obstacles
The best orientation for windows and doors
We also ask what the space is actually for.
A private office for one person has very different requirements from a therapy room, meeting space, creative studio, or office shared by two people.
That information helps us recommend the right size and layout before you spend money.
Step 2: Choose the Right OfficePod
Once we understand the property and how you plan to use the space, we select the right starting point.
OfficePodWA currently offers several sizes:
OfficePod Focus – 6 ft x 6 ft: A compact workspace for focused work, calls, and video meetings.
OfficePod Pro – 6 ft x 8 ft: More room for a larger desk, storage, equipment, or simply a more spacious working environment.
OfficePod Clinic – 8 ft x 10 ft: Designed for people who need additional room for clients, consultations, therapy, or professional meetings.
OfficePod Studio – 10 ft x 12 ft: Our larger option for multiple work areas, creative work, exercise equipment, or a combination of uses.
We can also customize the design when one of the standard layouts isn't quite right.
Step 3: Personalize the Pod
A backyard office shouldn’t feel like a storage shed with a desk inside.
We review the details that affect how the space will actually feel and function every day.
That can include:
Window placement
Door location
Exterior finishes
Interior layout
Electrical outlet locations
Lighting
Internet connectivity
Heating and air conditioning
Acoustic treatment
Interior finishes
Large windows can bring in natural light, while careful placement keeps your desk usable without glare.
Inside, insulation and FSorb™ acoustic panels help create the quiet environment that makes the OfficePod fundamentally different from working at the kitchen table.
The goal is not simply to build another structure.
The goal is to build a place where you actually want to work.
Step 4: We Prepare Before Arriving at Your House
One of the biggest advantages of our process is that a significant amount of work happens before construction begins in your backyard.
Materials are ordered, components are prepared, dimensions are confirmed, and the installation is planned ahead of time.
This matters because traditional construction often involves weeks of trades coming and going while materials, decisions, and schedules are coordinated on-site.
We try to move as much of that complexity as possible away from your backyard.
That means less disruption at your house and faster progress once installation begins.
Step 5: Prepare the Site and Foundation
A great office starts underneath the floor.
Before the structure goes up, we prepare the installation location and foundation.
Every property is different, so site preparation depends on the yard and the selected OfficePod.
We confirm the exact placement before construction begins and make sure the structure is positioned correctly relative to the property and surrounding yard.
For projects using a concrete foundation, the pad becomes the level, durable base for the finished structure.
This is also when we plan pathways for electrical and connectivity so they are considered as part of the project rather than added as an afterthought.
Step 6: The OfficePod Goes Up
This is the part homeowners enjoy watching.
Once the foundation and preparation work are complete, the OfficePod begins taking shape quickly.
The structure is assembled, followed by the roof, exterior, windows, doors, insulation, interior finishes, electrical components, acoustic treatment, flooring, and climate-control systems.
Because much of the planning and preparation happened beforehand, the backyard portion of the project moves much faster than a traditional room addition.
Most OfficePod installations are completed within approximately 7–10 working days on-site, depending on the project and site conditions.
Step 7: Electrical, Climate Control and Connectivity
A real office needs more than four walls.
We build OfficePods for everyday professional use.
Depending on the configuration, your finished space can include:
Multiple electrical outlets + USB-C
Interior and exterior lighting
Internet connectivity
Ethernet hardwire connection
Heating
Air conditioning
Air purification
Acoustic wall panels
Electrical permitting is handled as part of the project where required.
Building and land-use requirements can vary by city and property. That is why we review the project location early instead of assuming that the same rules apply everywhere.
Step 8: Final Checks and Handoff
Before we consider the project finished, we check the complete space:
Doors and windows.
Electrical.
Heating and cooling.
Interior finishes.
Exterior details.
Everything should work the way it was intended to work.
Then comes the best part: You move in.
Bring your desk, monitor, chair, coffee machine, artwork, plants.
Your commute is now about 15 seconds, not minutes.
One Project. One Team.
Home construction often becomes stressful because the homeowner ends up acting as the project manager.
One person handles concrete.
Another handles electrical.
Someone else builds the structure.
Another company installs HVAC.
And when something doesn't line up, the homeowner is stuck coordinating everyone.
OfficePodWA takes a different approach.
We handle the project from planning through installation so you don’t have to assemble your own construction team.
We are a local, owner-operated company based in Redmond, building backyard workspaces for homeowners across Redmond, Bellevue, Kirkland, the Eastside, and the greater Seattle area.
Thinking About an OfficePod?
The easiest first step is simple.
Send us:
Your city
Your address or approximate backyard dimensions
A few photos of the area where you’re considering placing the OfficePod
A short description of how you plan to use it
We’ll review the space and help determine which OfficePod makes the most sense.
Your new office may be much closer than you think.